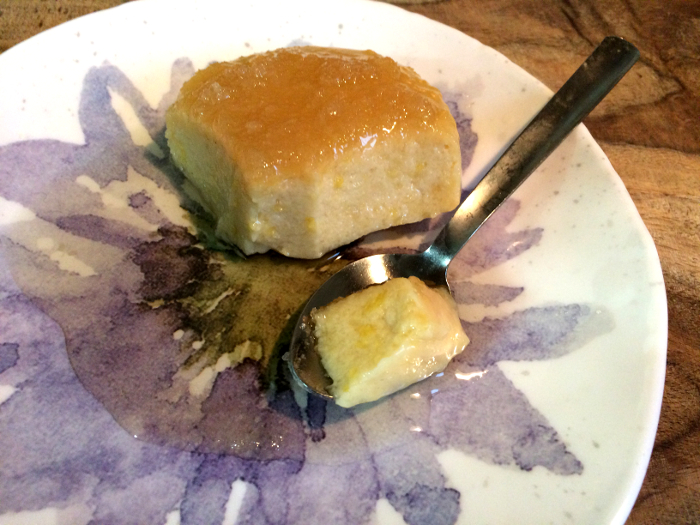
Pudding is a sweet treat you often see in anime and manga. It has a soft creamy base with caramelized sugar that overflows over the top. I've always wondered if there was any difference between the kind of pudding you often see in anime and manga, and the Snack Pack pudding I grew up with (besides the fact that Snack Pack pudding didn't have any caramelized topping). When I was thinking about what foods I wanted to recreate for this blog series I thought that pudding would be an excellent choice, as most store-bought types are not vegan to start with, so it would be a challenge to figure out how to not only recreate pudding, but the custard style I am familiar with from anime and manga.
The show Nanana's Buried Treasure is a comedy originally created by Kazuma Ōtorino. Despite the fact that the main audience for this show is definitely teenage boys, as is quite obvious from the design of the characters, as well as the abundance of fan service, I decided to give it a try when the anime was being simulcast on Crunchyroll back in 2014 . I thought overall the show was fun and a good escape kind of show. It wasn't going to make me feel any deep emotions, but it was a way to enjoy 30 minutes of my day.
The show centers around a couple of characters, namely Nanana Ryugajo, a girl who was murdered 10 years prior to the main timeline of the story, who haunts the apartment of our main male character, Juugo Yama. When she was alive Nanana was an explorer who helped create the man-made island (with a group of 6 other young geniuses) that the story takes place on. In her short life Nanana found many treasures, and hid them throughout the island. Nobody knows where the majority of them are, although there are a few teams of people who are eager to find them (due to their high value). Nanana's murderer was also never found, so knowing that this is one of the reasons why Nanana's spirit has never moved on, Juugo agrees to find her treasures and also her murderer, so that she can gain some peace. What happens after that are a series of hijinks while we get to know the characters.
This series ties into the topic of this post because Nanana is obsessed with pudding. She likes pretty much any type of pudding, and in fact, it is the only thing she can eat in her ghostly form. Juugo uses most of his money to buy her pudding every day, sacrificing his food budget to keep her happy.
I wouldn't really know where to start when it came to making custard, so I looked up a recipe for Japanese custard. I found this recipe online. It was obvious that I would have to do a bit of experimentation, but the recipe was pretty simple to follow, so I went ahead and jumped in.
The recipe came out well, and I thought it was pretty tasty, so if you are curious like I was, to try the confection, give it a try! Just be prepared for it to take about an hour, plus setting time in the refrigerator, especially if it's your first time trying the recipe. I would recommend having all of the ingredients out and ready, as some of the steps finish quite fast and require quickness. Also, you will need at least 6 custard ramekins for this recipe. I got mine on Amazon.com.
Japanese Custard Style Pudding
Ingredients
Caramel Sauce
2/3 C. Granulated Sugar
2 T. Water
2 T. Boiling Water
Custard
1 T. Agar Agar Powder
1/4 C. water
2 Egg's Worth of the Vegan Egg
1/3 C. + 1 T. Granulated Sugar
1 3/4 C. Soy Milk (you could also use Coconut Milk beverage if you prefer. I do not recommend substituting any thinner non-dairy milks though, as this is supposed to be a thick base)
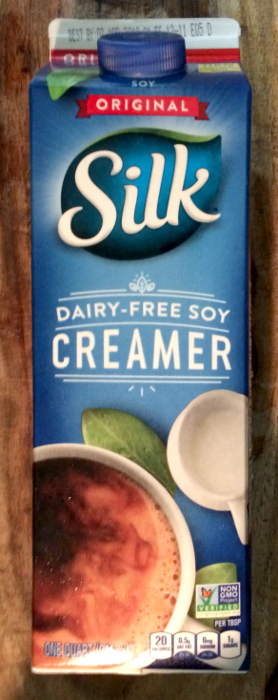
1/2 C. Soy Creamer (or your choice of non-dairy creamer)
2 tsp. Vanilla extract
Directions
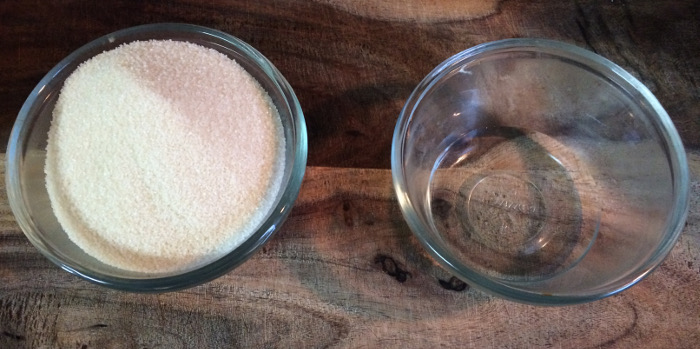
1. Gather all ingredients.
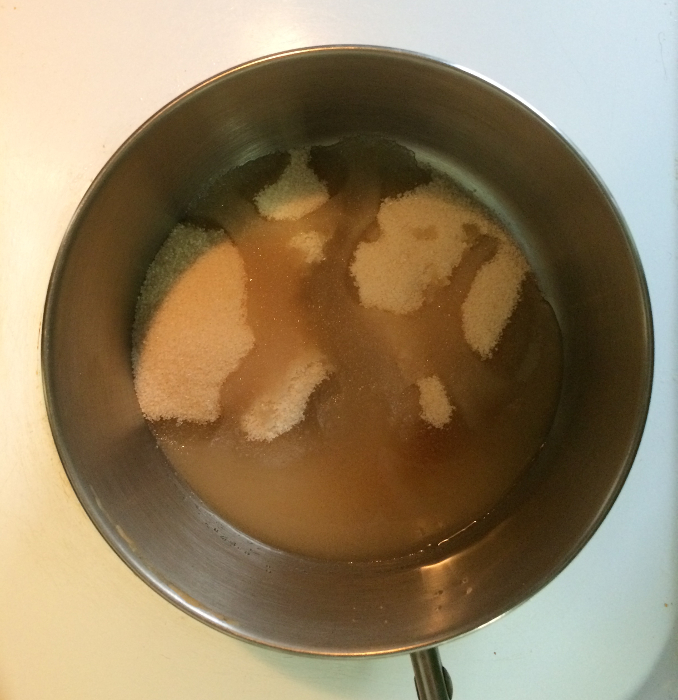
2. Keep a kettle of hot water ready. Once the water has boiled, combine it with the sugar on the stove top. Cook, stirring until the sugar has dissolved. Once the sugar has dissolved raise the heat to medium-high. Boil, without stirring, until golden brown. (In the original recipe it said it would turn into a dark brown and would caramelize, and while mine turned dark brown, it did not turn thick like caramel, and because I did not want to overcook it, I stopped before the 5-7 min. in the original recipe recommended. I would recommend keeping an eye on your mixture. When it reaches a darker brown color like the photos below you can turn the stove off).
3. When the mixture turns darker brown in color, immediately remove from the heat. Pour in 2 T. of boiling water. It may create a splash, so be careful. Stir the mix to combine. This will thin out the caramel and ensure it does not harden into a rock on the bottom of your custard ramekins.
4. Briefly dip the ramekins in hot water to keep them warm. This will make sure the sugar does not harden too quickly.
5. While the caramel is still hot, evenly distribute among 6-8 custard cups (I made 6). Set aside and let the caramel thicken as you prepare the custard layer.
7. Using the vegan egg, prepare 2 eggs worth. You will need 2 T. of the egg substitute plus 1/2 C. of ice cold water per egg, so keep some water in the fridge before you start this recipe. Whisk the powder and water together until it becomes thick.
8. Mix in the sugar to the "egg" mix.
9. In a medium saucepan heat 1 C. of the soy milk over medium heat until it is warm to the touch.
10. Slowly add the warm milk to the egg mixture, whisking constantly. Pour the mixture back into the saucepan, and cook over medium low heat, stirring constantly (make sure it does not stick to the bottom of the pot) until the mixture is hot, but do not boil.
11. Add in 1 T. of Agar Agar powder the mixture and whisk quickly to make sure it does not create clumps in the mixture.
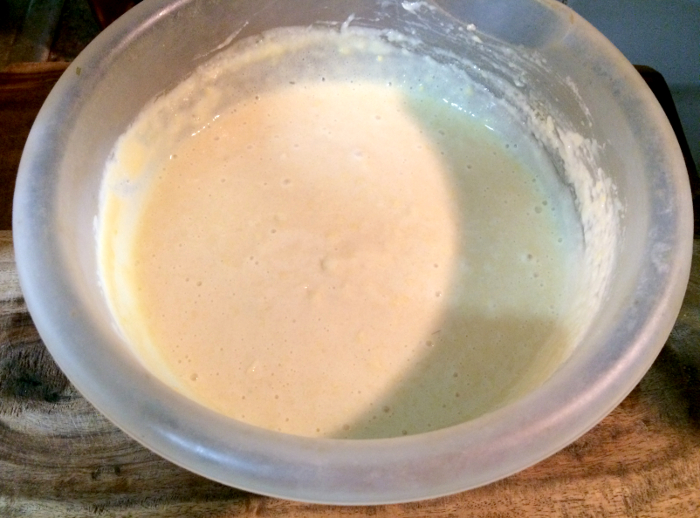
12. Pour the mixture into a mixing bowl. Add the rest of the soy milk as well as the creamer and vanilla. Whisk it all together.
13. Divide the custard equally into your 6-8 ramekins. Cover with plastic wrap and chill in the fridge overnight or up to a week (since it is non-dairy it will last longer than typical homemade pudding).
14. To serve, run a small knife (such as a butter knife) around the edge of each ramekin to loosen the custard. Place a plate or small serving bowl over the top of the ramekin and flip it over, so that the mixture moves quickly from ramekin to plate. If the sugar is hardened on the bottom of the ramekin microwaving it for 5 seconds should warm it enough to pour over the top.
I enjoyed this dessert. It was light and creamy, but not too sweet. It was a nice little treat during the week, and I recommend trying it out for yourself!
